.jpg)

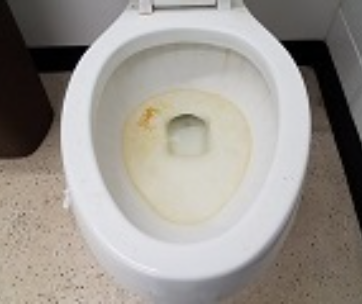
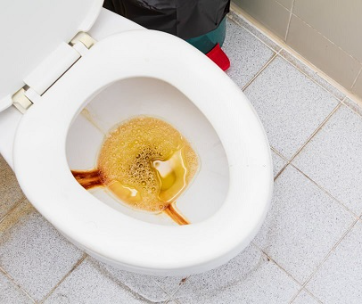
An overflowing toilet cistern will run up your water bill, leave alone flooding your bathroom. It poses potential water damage to your flooring and can cause mold growth, all of which are very costly and tedious to rectify.
We already lose too much water with each flush, almost two gallons per flush. So, you want to fix any overflowing issues as soon they materialize.
Unlike most toilet repairs, stopping an overflowing cistern is a rather simple affair – one that might not even require a plumber. The fill valve apparatus and overflow tube are often the major culprits here.
Preparing your “Workspace”
Though not necessary in an emergency, you will want to keep the following at hand for a smoother experience: long rubber or disposable gloves, relevant replacement parts, a multi-bit screwdriver, and a small hacksaw.
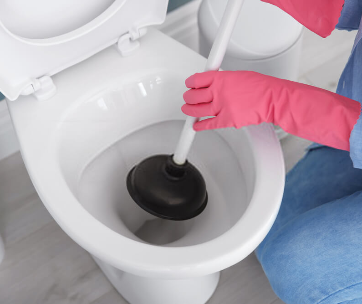
Avoid flushing the toilet again and instead focus on preventing more water from flowing into the tank altogether.
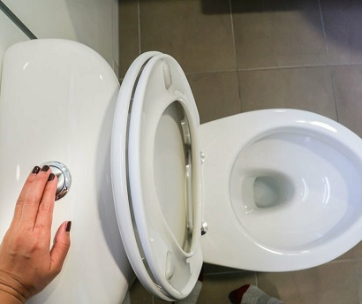
Shut Off the Water Supply!
Begin by turning off the water valve, which is located at the base of the toilet, to cut off the water supply from the mains. Next, remove the tank lid carefully and set it down on the floor out of the way. Rig the float to stay in a closed position to further prevent water from flowing into the tank via the valve.
Shutting off your home's water supply might be necessary if the above attempts didn’t work. You may also drain the water in the tank by either turning the flush lever or lifting the flapper in the tank manually.
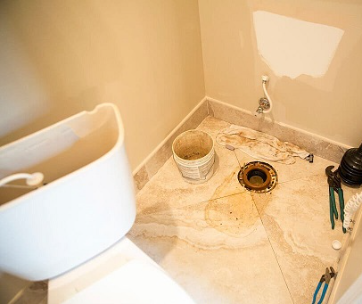
Immediately dry up any pooled water for a non-slippery workspace and to avoid the water seeping into the carpet or snaking into the other rooms.
Since you’re in a hurry, placing folded towels over the spills should greatly help. Additionally, you may place some heavy objects over the towels for a more effective barrier.
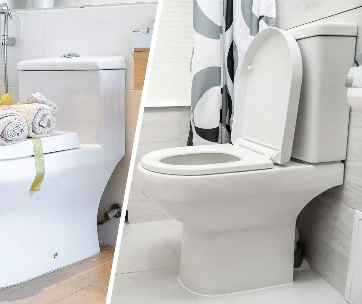
How to Fix an Overflowing Toilet Cistern
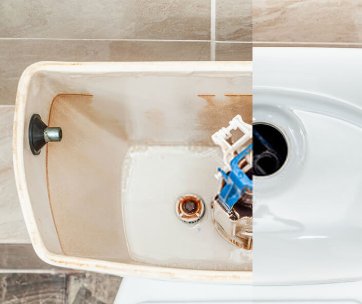
Normally, water refills in the tank with the help of the fill valve and float. With each turn of the flush lever, water drains into the toilet bowl lowering the water levels in the tank. The bobber rises and falls with the rise and fall of the water level.
When the float rises, it shuts off the fill valve cutting off the water supply from the mains. If the floating bobber is faulty or poorly positioned then water will rise until it drains into the bowl via the overflow tube. This means the fill valve stays on resulting in a running toilet.
You get an overflowing toilet cistern when the overflow tube fails to drain the excess water. This will happen most commonly if the overflow tube is too tall. Ideally, you should always properly size the overflow tube when doing fresh installations or replacements.
Sure, you want the overflow tube higher than the indicated water level but not too high that it’s ineffective at its function.
How to Fix a Faulty Overflow Tube
Most overflow tubes are intentionally made tall to allow for compatibility with modern low-flow toilets with tall cisterns. So, you must cut them to size for idea functionality. The height of the overflow tube should be at least an inch or two above the recommended water level.
Additionally, the top of the tube should be about an inch below the opening of the tank lever. Using the small hacksaw, cut the excess part of the tube to achieve the proper height. Be sure to use a small hacksaw to avoid having to remove the overflow tube.
Turn on the water supply and wait for the tank to refill to the correct position. However, if the overflow tube is already at the right height, then you want to reposition the float.
Readjust The Float and Fill Valve
Whether you have a ballcock-style float or a cup-style float, you primarily want to make sure the float stops at the desired water level. You can lower the water level by lowering the float.
For traditional ball floats with plunger fill valves, increasing the water level is done by bending the brass float rod. Make small adjustments while checking if the correct water level has been attained. It is not uncommon for these float balls to break by accident or through normal wear and tear.
A leaky float won’t rise with the water level and thus won’t shut off the fill valve resulting in a running toilet. Replacing a leaky or punctured float ball is often the best way of fixing the problem.
Diaphragm-style valves similarly have ballcock floats but with an elastic diaphragm to regulate water flow. They feature screw mechanisms connecting the float armature to the fill valve. In these models, you lower the water level by loosening the screw.
The screw may either be a flathead or a Phillips screw and will most likely loosen by twisting it counterclockwise.
A float-cup fill valve has a sealed cylinder that moves up and down the fill tube shaft. The float is connected to the valve by a long vertical plastic rod with an adjustment screw on top. Lowering the water level is done by turning the screw counterclockwise to lengthen the plastic rod.
In some models, the screw is not present and instead, you are required to twist the entire fill tube shaft up or down to adjust the water level.
Other models come with metal spring clips to help control the water flow. Here, you want to pinch both ends of the clip, move the float down on the rod and then release the clip to lower the water level.
Adjusting the height of the float in internal float fill valves requires you to move the entire shaft to regulate the water level. Begin by twisting the fill valve’s top head anticlockwise to release it. Next, move the entire head of the valve down to lower the water level.
Once satisfied with the positioning, twist the head back on to secure into place again.
Fill valves without floats such as pressure-activated variants are adjusted a little differently. The fill valve works by sensing the pressure in the cistern to close or open the inlet. This type of valve has an adjustment screw that you can twist counterclockwise to lower the water level.
How to Fix a Leaky Valve
If you notice any chips or cracks at the sealing around the edges of the valve then it’s probably time to replace it. A worn and leaky valve coupled with a misaligned overflow tube is bound to cause overflowing and possibly flooding.
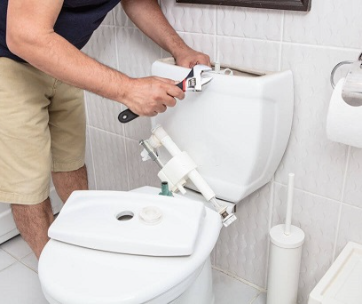
You are most likely to encounter two types of water inlets for the fill valve which include a side entry and a bottom entry inlet. Using an adjustable spanner or footprint wrench undo the locking nut at the bottom of the cistern. Remove the old fill valve system and replace it with a new one.
Tighten the locking nut firmly to form a watertight seal between the tank intakes and fill valve assembly.
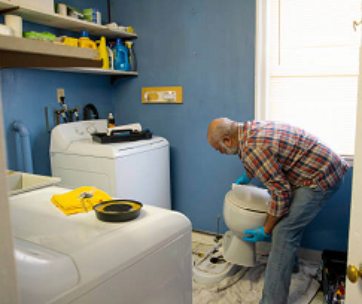
Remember to adjust the height of the float (or fill valve) as we discussed above for the right water level. If you don’t feel comfortable replacing the fill valve, then a professional plumber will be best placed to address the issue.
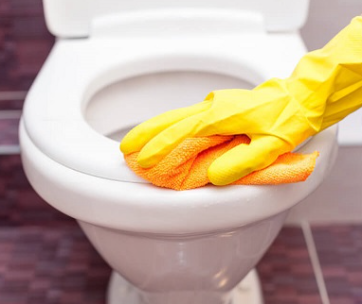
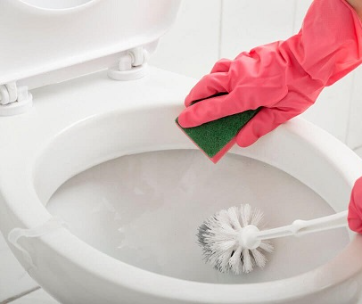
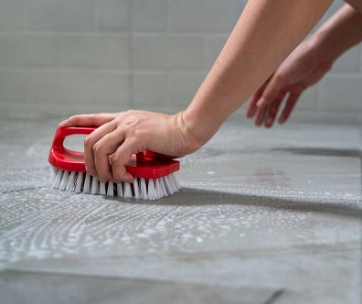
Remember to Clean Up
With the overflowing issue resolved, be sure to leave your bathroom clean and dry. Otherwise, the standing water can quickly soak into your flooring, walls, and cabinets, and cause mold or spread bacteria.
Using a wet vacuum suck up any standing water that may have pooled around your toilet. Use blankets, old rags, or towels to remove any remaining water. You may finish by cleaning your bathroom with soap and water to disinfect the space but that’s up to you.
Parting Shot
Whether your toilet cistern has a continuous small leak or a full-on overflow, diagnosing and fixing most plumbing problems is very easy. With quick action, the right tools, and all the information, you are set to fix any manner of an overflowing cistern.