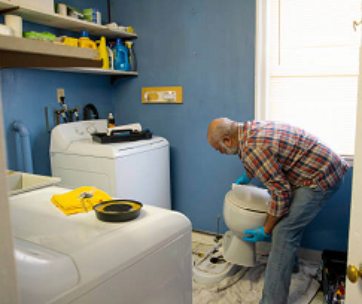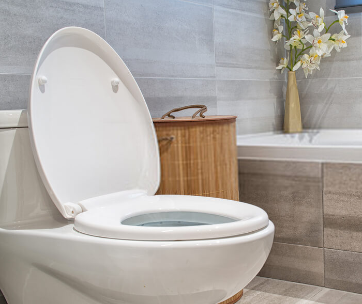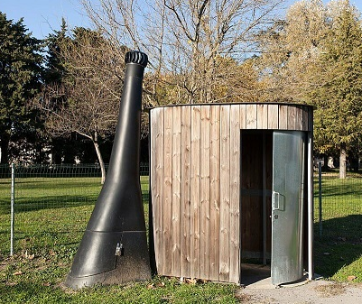

Toilet installation in our bathrooms follows a well-specific installation process that involves assembling various toilet components.
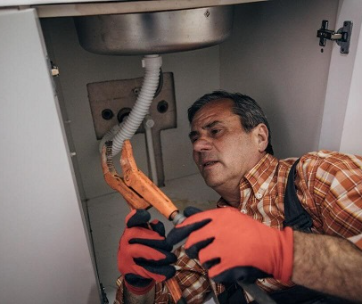
Before smart toilet installation, it's advised to read all the manufacturer information on the toilet model installation procedures.A toilet installation process is done carefully and facilitated by the use of simple tools such as pliers and screwdrivers.
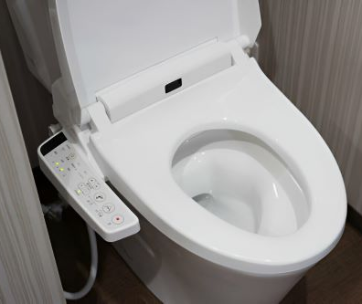
What are the Key Smart Toilet Installation Components?
A smart toilet system has key components that dominate its functionality. The following are key sections that play a crucial role in the installation process;
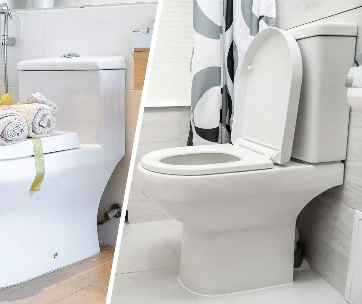
Toilet Tank
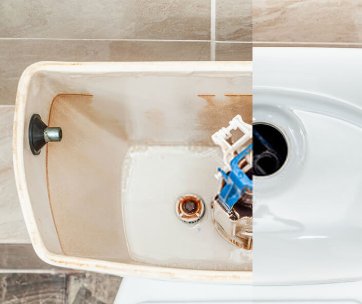
This is the most crucial module of both the gravity flush toilet and modern pressure and censored flush toilets. It is the part positioned above the toilet and has the core responsibility of storing water.
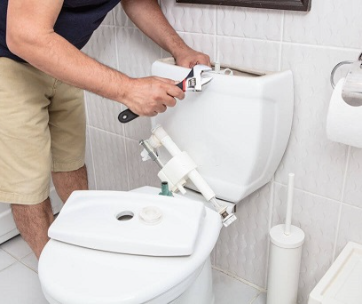
The tank is made of several parts that are meant to ensure efficiency well guarantee the flushing process.One of the most crucial parts of the installation process is the installation of the toilet tank.For a seamless installation process, below is a step-by-step guide on the smart toilet tank installation procedures.
List of materials required to install a toilet tank
A toilet tank, a toilet bowl, a wax ring, toilet tank bolts, a functional plier, several crews, and a tank to the bowl gasket.
You will also need a tank to bowl bolts and a bucket.The list has all the items that are crucial for the smart toilet installation process. Make sure all the items are available before embarking on the installation process.
These are the steps to be followed for a successful toilet tank installation process.
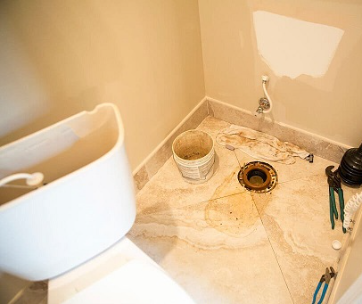
- Clean the flange and ensure it is free from debris and other harmful substances before you start the installation process.
- To create a seal between the toilet bowl and the floor, the toilet ring is placed on the floor flange while its tapered side faces upwards.
- Lower the toilet bowl slowly to the wax ring. The mounting acts as a protruding point for the floor flange and mounting bolts. After the toilet seat is placed on the wax, compress firmly to the exact weight in the ring.
- With the use of pliers of a wrench, the nuts and mounting bolts are tightened up. This is done to secure the toilet bowl cautiously such that they aren’t overtightened to break the porcelain.
- The tank gasket is then pre-attached to the tank and placed at the lower part of the toilet tank.
- The tank is attached to the bowls by the mounting holes found at the bottom of the tank. The holes should be secured with nuts which are hand tightened.
- The mounting holes assist in the alignment of the tank to its position. The bolts must pass through the necessary fixes before lowering the tank onto the bowl.
- Place the washer and bowl bots into the tank while tightening using the plier to secure the tank. Overtightening led to damaging the porcelain. Therefore, be wary while tightening the bolts.
- The fill valve connects the water supply at the bottom of the tank. Use a plier to attach the water supply and tie it tight.
- Tighten or loosen the tank’s nuts to secure the bowl and ensure a good position for the tank. Use a similar level of the tank and the bowl.
- After the tank is well tightened, turn on the water supply to check for any leakage. Check from the bowl and the tank base and pull when needed.
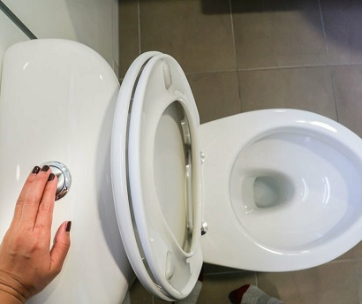
- Flash the toilet for an initial test to ensure the tank and bowl work properly. Do this while checking for unnecessary voice and leakages.
- Secure the lid by placing it on top of the tank. Make sure it fits correctly.
- Ensure any system that has to be adjusted by checking the toilet water level and seals and tighten where necessary.
2. Fill Valve
The toilet valve regulates the water that flows inside the tank.By switching it off immediately the water reaches the required level.The installation process is an effortless way and acts as part of setting and monitoring the toilet ware supply system.
Materials and tools required;
Toilet Fill Valve installation kit, bucket, pliers, screwdriver, and tube cutting tool.
These are the steps to be followed for a successful fill valve installation process.
- Identify the water turning off valve to that the water supply at the base of the toilet tank. Turn the valve in an anticlockwise direction.
- Drain water from the toilet tank by flushing the toilet. Ensure the tank is completely dry by removing any moisture and wetness. Do this by use of a towel or sponge.
- Set aside the tank lid safely after lifting it cautiously from the tank
- From the bottom of the toilet tank, disconnect the supply of water into the tank by use of a plier of an adjustable wrench. Use a bucket of towel to catch the water from this adjustment.
- Check at the bottom of the tank, a valve is usually connected and extends inside the tank.
- Before installing the new valve, disconnect the old valve from the tank.
- Locate a nut underneath the tank then remove the water supply tube by lifting the older valve.
- The valve kit comes with well-laid-out instructions for the component’s assembly. This may call for adjustment of the height of the filling valve depending on the toilet model.
- While lowering the new valve into the tank, make sure that the rubber gasket is properly connected at the bottom of the tank.
- The kit comes with a nut that is used to secure the valve under the tank. Tighten the nut properly to a normal level. Snug the valve up by use of a plier or wrench.
- Connect back the water supply from the bottom of the valve. Tighten the connection by use of a plier or adjustable wrench.
- Follow the instructions to set the high of the valve to a recommended height. Be sure to check the new valve if it allows height adjustments.
- After all the adjustments have been done, restore the water supply to the toilet by turning the valve in a counterclockwise direction
- Fill the tank as you check for any leakages around the valve and all along the water supply connection channel. Use a pliers to tighten any connection of resolve any leakages.
- After ensuring that the system is well connected, place the tank lid back on top of the tank. This should be done with lots of caution to avoid breakages.
- Check the toilet functionality by flushing the toilet and letting it run completely. Check the water refill level inside the tank for correct water level.
- Close to toilet valve installation process.
- In case you experience any complicatedness during the installation process, double check the connection by making necessary adjustments and checking for leakages.
- If still not working, refer to the manufacturer guide for additional toilet installation guide depending with the toilet model.
Toilet Float
As part of the toilet fill valve mechanism. the toilet float functions at regulating the water level in the tank. It is located inside the toilet tank
The float rise and falls depending with the water level. It sends an indicating to the fill valve of when to open or close the water supply inside the tank.This is a paramount integrant of the toilet that is responsible for regulating that water size inside the tank to ensure the tank doesn’t overflow or has reduced amount of water.
Proper float installation is pivotal to the ensure toilet setup and mainly the toilet valve system. Without a properly installed floater, the entire functionality of the toilet system is compromised.
Wondering how to install a toilet float? Follow these simple steps.
Float installation tools and materials.
The toilet float itself, an adjustable wrench, water bucket, screw driver and a fill valve
These are the steps to be followed for a successful float installation process.
- At the toilet base, turn off water supply by use of a turning off valve found at the base of the toilet tank. Rotate it to a clockwise direction.
- Drain all the water from the toilet tank by flushing the toilet. Use a towel or sponge to dry any remaining wetness from the tank.
- Carefully remove the tank lid and ensure its placed in the safe place to avoid breakages.
- The float valve is in form of a ball, cylinder, cup and any design. It is connected to the fill valve by use of a float arm.
- Remove any clips or pin that connects the float to the fill valve
- In case you want to replace the float, disconnect if form any attachments such as the float arm. Check if the float is unscrewed or clipped.
- After disconnection, reattach the new float to the float arm or at any designated attachment point as instructed by the manufacturer depending with the toilet design
- Check the float arm if its adjustable. If yes, set it to the correct position that will enable the toilet tank to achieve the required amount of water. The float arm come with a screw or adjustable clip.
- Check the fill valve to ascertain if it’s functioning properly. If not, consider replacing it with a properly functioning valve.
- Ensure the connection is well secured by reattaching the float back to the fill valve
- In order to Restore the water supply to the toilet system, turn the valve in an anticlockwise direction.
- After water has been restored completely, check around the float or fill valve if there are any leakages.
- If all is well, close the toilet tank by carefully returning the lid. The water level in the tank should automatically rise or fall.
- In an event that you experience any difficulties or notice some destructions on the system. Check the entire system again for any fault.
- If it persists, check the manufacturer’s instructions for installation details- depending with the toilet model.
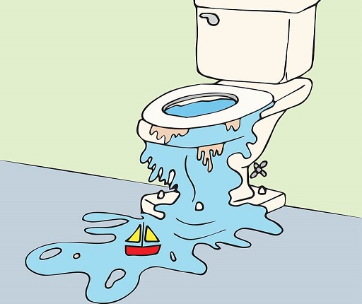
Overflow Tube
Installing a toilet overflow tube is an important part of setting up or repairing a toilet. It plays a crucial role in preventing the toilet tank from overfilling.
To help you install a toilet overflow tube, here is a step-by-step guide:
Overflow tube installation material
The toilet overflow tube kit, a plier, a bucket and a screw driver.
These are the steps to be followed for a successful overflow tube installation process.
- At the bottom of the tank, identify the shut off valve and turn it in a clockwise direction to shut off the water supply.
- Drain excessive water from the toilet tank. Drain additional water from the water system by use of a towel or sponge.
- Carefully remove the tank lid and keep it in a safe place to avoid breakages.
- Attached to the flush valve assembly at the center of the toilet tank, find the overflow tube
- Insert the flush valve to the overflow tube. The opening is well designated on the flush valve.
- Tighten the available nuts to secure the overflow tube
- The overflow tube needs to be tall enough to prevent the water level from reaching the top line during regular flushing. The tube should be placed at the correct height so that it doesn’t interfere with the flush valve operation.
- Connect the overflow tube to the fill valve. Overflow valve come with a clip that makes the attachment easier. Some overflow tube comes well connected to the fill valve.
- After finishing, restore back the water supply to fill the tank. Do this while checking for any leakages at the overflow tube or the entire system.
- As usual, place the tank lid back carefully to avoid breakages.
- Flush the toilet to ensure proper functionality. Ensure that the water level in the tank is in the right level and well controlled.
- If you face any predicaments or notice any leaks, make sure to double-check the connections and adjust them as needed.
- For specific details related to your toilet model, always refer to the manufacturer's instructions.