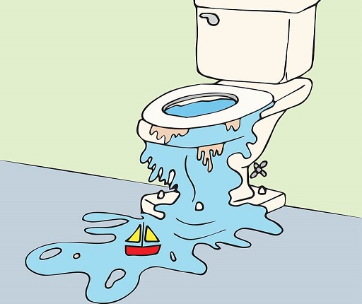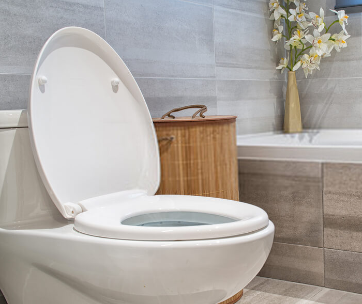

The last thing you want when hosting guests is a non-flushing toilet, or worse yet having to deal with one at a friend’s home. Fortunately, you don’t have to reach out to a plumber just yet as there are several quick fixes you can try to fix the problem.
With a keen eye and a few tools, you can get rid of this inconvenience in under an hour. But first, it is highly important to learn how a toilet flushes to better understand where the problem lies.
Toilets 101: What Happens When You Flush
Once you’ve pulled the flush lever, a flapper inside the cistern is lifted releasing water into the toilet bowl. The flush handle is connected to the flapper inside the tank via a lift chain. The tank water jets out through holes in the rim and onto the bowl washing out all the contents.
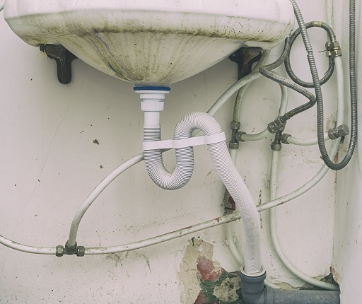
The dirty water is then forced into the S-shaped trapway and siphoned out to the main drain. Concurrently, water refills in the cistern through the fill valve, which is connected to your water mains.
Overflow is well handled by the float and overflow tube. The float rises and falls with the water level to start and stop the flow of water through the fill valve. On the other hand, the overflow tube redirects excess water into the toilet bowl to avoid overflowing.
Any breakdown in this Rube Goldberg machine of sorts results in malfunctions such as weak flushes, clogging, or a toilet that won’t flush.
5 Reasons Why Your Toilet Won’t Flush and How to Fix It
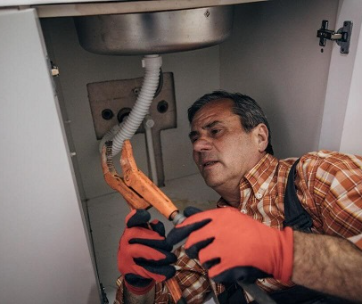
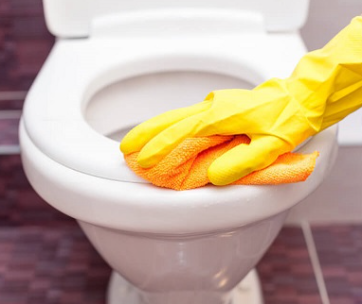
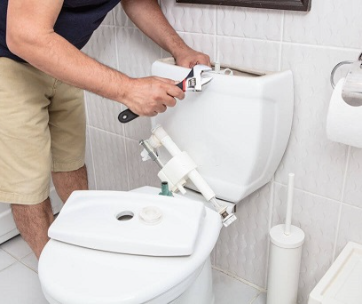
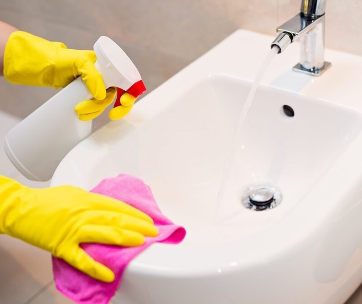
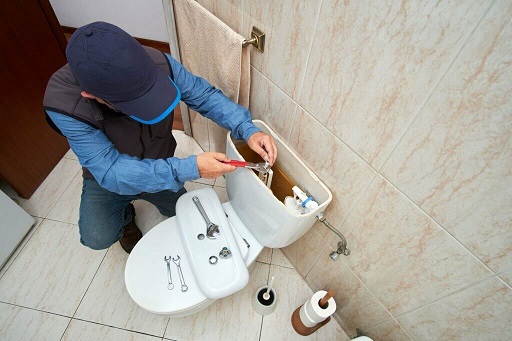
Always make sure you turn off the toilet’s water supply and if possible, sponge up the inside of the cistern before diving into the repairs. You can drain the water inside the tank by pumping it out, flushing it manually by lifting the flapper, or wringing it out with a cloth or towel.
You will at least need tools such as a flat-head screwdriver, adjustable pliers, needle-nose pliers, safety glasses, a flashlight, a sponge, a bucket, and relevant spare parts. Additionally, a few towels should be placed nearby to catch any spills or gushes and help with the clean-up afterward.
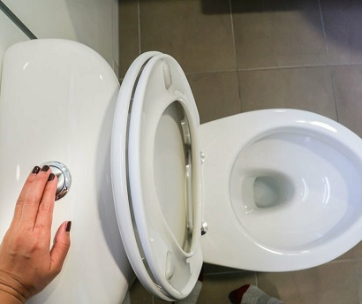
1. Broken Flush Handle
The most obvious reason your toilet won’t flush is a broken or loose flush handle. You want to check if the nuts holding the handle are well fastened as a loose hold often means less lift on the flush lever bar. Tighten the mounting nut by hand or use an adjustable wrench to solve the problem.
In some cases, the handle might become stiff due to sediment and limescale build-up. Here, a good clean should do the trick otherwise if the handle is completely broken then a replacement will be most suitable.
To replace a broken handle, you will need a new toilet flush handle and an adjustable wrench.
Take the lid off, unhook the lift chain and remove the lever bar. Use the wrench to unscrew the nut holding the flush handle and finally remove the old handle. You may clean any rust or mildew stains around the handle hole with soapy water and a scrub sponge, if necessary.
Next, unscrew the nut from the new handle and slip its lift arm through the hole in the cistern. Screw on the mounting nut back over the handle by hand-turning then tighten it firmly using an adjustable wrench.
Make sure not to overtighten the nut to avoid cracking the porcelain.
Clip the lift chain to the lift arm and adjust accordingly for the right slack. Turn the water supply back on and test if the toilet flushes properly. Replace the cistern lid once you’re satisfied and voila, you have a functioning flushing toilet again.
2. Problems with the Lift Chain
If you turn the flush lever and nothing seems to happen then a broken, disconnected, or slack lift chain is most probable. Without the linkage to the flapper, water can’t be released to the toilet bowl. A good way to confirm this is by peering inside the water tank.
Remove the lid from the toilet cistern, put it out of way and inspect the lift chain.
If the chain is disconnected, simply reattach it to the flush lever bar or flapper valve as needed. Normally, the chain will be connected to the flush lever bar using a tiny metal clip and to the flapper via a small metal ring.
Use your needle-nose pliers to tighten the ring, if necessary.
For a broken lift chain, you can choose to either repair the chain or replace it completely. If the lift chain has broken in the middle but both ends are still attached then just slip the middle sections together. Use the needle-nose pliers to bend the connections back to form.
In some cases, the chain may be rusty and beyond repair and thus a replacement is inevitable. Get a new chain from your local hardware or plumbing store. Next, unclip the old chain from the lever bar and use your needle-nose pliers to detach the metal ring on the flapper.
The new chain will most likely come with three parts including the ring, clip or hook, and chain.
Open the metal ring and hook it to the flapper. Insert the last link of the chain to the metal ring and squeeze the ring closed with the needle-nose pliers. Double-check that it’s not closed too tightly so it does not come loose.
Insert the other end of the chain to the metal clip and attach the clip to the flush lever handle. If the lift chain has too much slack or is just too long then it won’t be able to lift the flapper. Moreover, a long lift chain makes the flapper close too fast resulting in a weaker flush.
So, be sure to adjust the metal clip by either inserting into the right hole on the lever bar or moving it down a bit on the chain. Alternatively, you can remove a section of the chain by unbending a link using your trusty needle-nose pliers.
Repairing or replacing beaded roller chains should follow similar steps thanks to the included handy couplers and connectors. Finally, replace the lid, perform a few flush tests with the water supply turned on, and if necessary, adjust the tightness of the lift chain.
3. The Flapper is Damaged
A toilet flapper is a rubber or plastic seal that covers the flush valve to keep water in the cistern and release it when the flush handle is turned. If the flapper is worn, warped, or bent then it won’t function as desired resulting in a running toilet or a toilet that won’t flush.
Replacing the flapper is your best chance at solving the problem. After all, toilet flappers are inexpensive, widely available, and very easy to install. Feel free to take the old flapper to your nearest hardware or plumbing store to get one that is compatible with your toilet.
Most replacement flappers will come with a new lift chain, so, if necessary, be sure to remove the old one.
Remove the old flapper by unhooking or unclipping it from the mounting points on the flush valve. If the surface of the valve is dirty, clean it with a wet soapy sponge and dry off the area. Install the new toilet flapper by slipping its ears to the mounting pins on the flash valve.
Finally, attach the lift chain to the lever bar and adjust its slack as needed. Turn the water back on and check for any signs of leaking water and if the toilet flushes correctly.
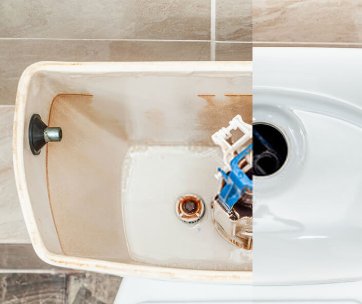
4. Low Water Levels in The Toilet Cistern
Ideally, the water level inside the cistern should be an inch or two below the overflow pipe. Most toilet tanks will have a mark indicating the proper water level. Firstly, you want to check if the water supply to the bathroom is turned on.
If that doesn’t solve the issue then the following might be the reasons for the low water levels:
Issues With the Fill Valve (Float)
The most used fill valves are the old-style float ball and float-cup fill valve. The latter has its float surrounding the water inlet cylinder while the former has a float ball extended on a metal or plastic arm. Either float moves up and down to control water flow into the cistern.
You can reposition the float or repair/replace the fill valve to allow more water into the toilet tank.
For the float ball fill valve, turn the screw on top of the valve clockwise to raise the float ball and ultimately the water level. In older models of this type of float, one could alternatively bend the metal arm upwards to increase the water level.
If your toilet has a float-cup fill valve, you should see a long adjustment screw running alongside the float. Using a screwdriver, turn it counterclockwise to raise the water level in the cistern. In case your toilet doesn’t come with an adjustment screw then you will need to locate a release clip inside the fill valve.
Reach down the length of the valve and clip up the release clip to raise the water level. Test with a few flushes to see if that solves the problem. Always ensure the water level is at the correct mark or else you will end up with a running toilet.
Just in case the repositioning of the float doesn’t fix the problem then you should inspect the fill valve for worn or broken components. Since the inner mechanisms of the fill valve will differ from model to model, we suggest looking at the manufacturer’s manual for better guidance.
That said, we prefer replacing the fill valve altogether instead of having to mess around with its intricate parts.
The Fill Tube Is Damaged
“Connect it back to the overflow tube or replace it entirely if it appears damaged.”
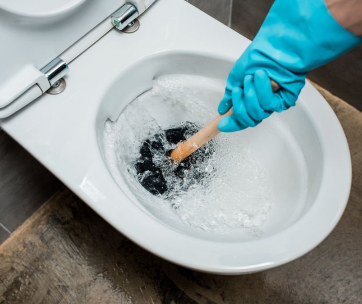
5. Toilet Is Clogged
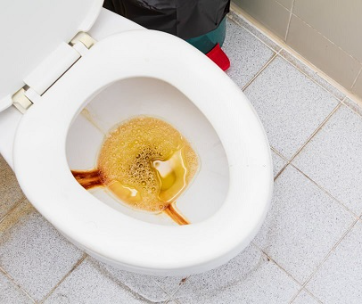
In many cases, your toilet won’t flush due to blockages in either the siphon jet, trapway, or main drain line.
Clogged toilet pipes are normally signified by a sudden overflow, a higher water level in the toilet bowl, or a weak flush. The pipes get clogged due to the build-up of hard water deposits or non-flushable items such as too much toilet paper, sanitary napkins, non-flushable wipes, paper, and other foreign objects.
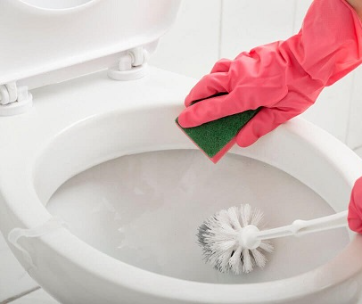
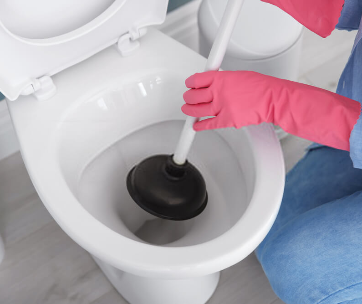
Unclogging the pipes can be easily done by removing any close items by hand but be sure to wear some rubber gloves. Plungers and augers should come in handy for getting rid of the more stubborn blockages.
Use the plunger to free any clog in the toilet’s trapway and the auger for anything beyond the toilet. The long flexible cable, crank handle, and auger bit on the toilet auger make it super effective at unblocking toilets.
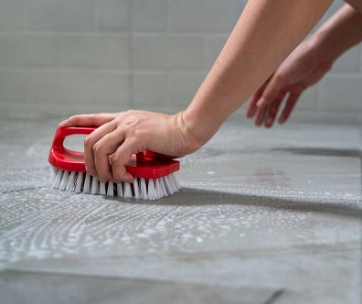
For clogged jet flush holes and rim jets, the blockage can be caused by the prolonged build-up of mineral deposits resulting in weakened flushing power. The best way to unblock the flush hole is by cleaning it with a small brush and acid toilet cleaner.
The rim jets can be unclogged by plugging them with plumber’s putty then pouring acidic toilet cleaner into the overflow tube. Leave the cleaner to dissolve the mineral deposits for a couple of hours.
Finally, remove the putty and flush the toilet several times. Scrub away any leftover debris using a toilet brush.
Blockages in the main drain line can be a little tricky to deal with so you might want to call a plumber. The job requires a longer auger and might mean a complete replacement of the given section.
Wrapping Up
Toilets that won’t flush are a common problem in most homes so you need not panic or feel embarrassed when it happens. Troubleshoot and fix the problem as guided above and all will be well. Remember to start with the most obvious fixes before proceeding to complete replacement of parts.
If none of the solutions work for you then it’s probably time to call in a professional plumber.