

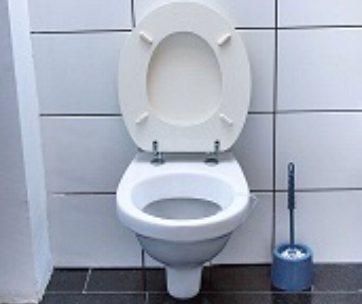
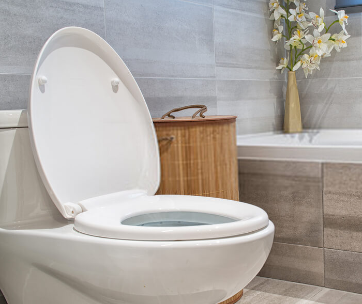
Cleaning the toilet is something that most households do. But truth be told, one of the most neglected parts is the tank.
And that’s because the toilet lid always covers it up. That way while cleaning, it can often go unnoticed.
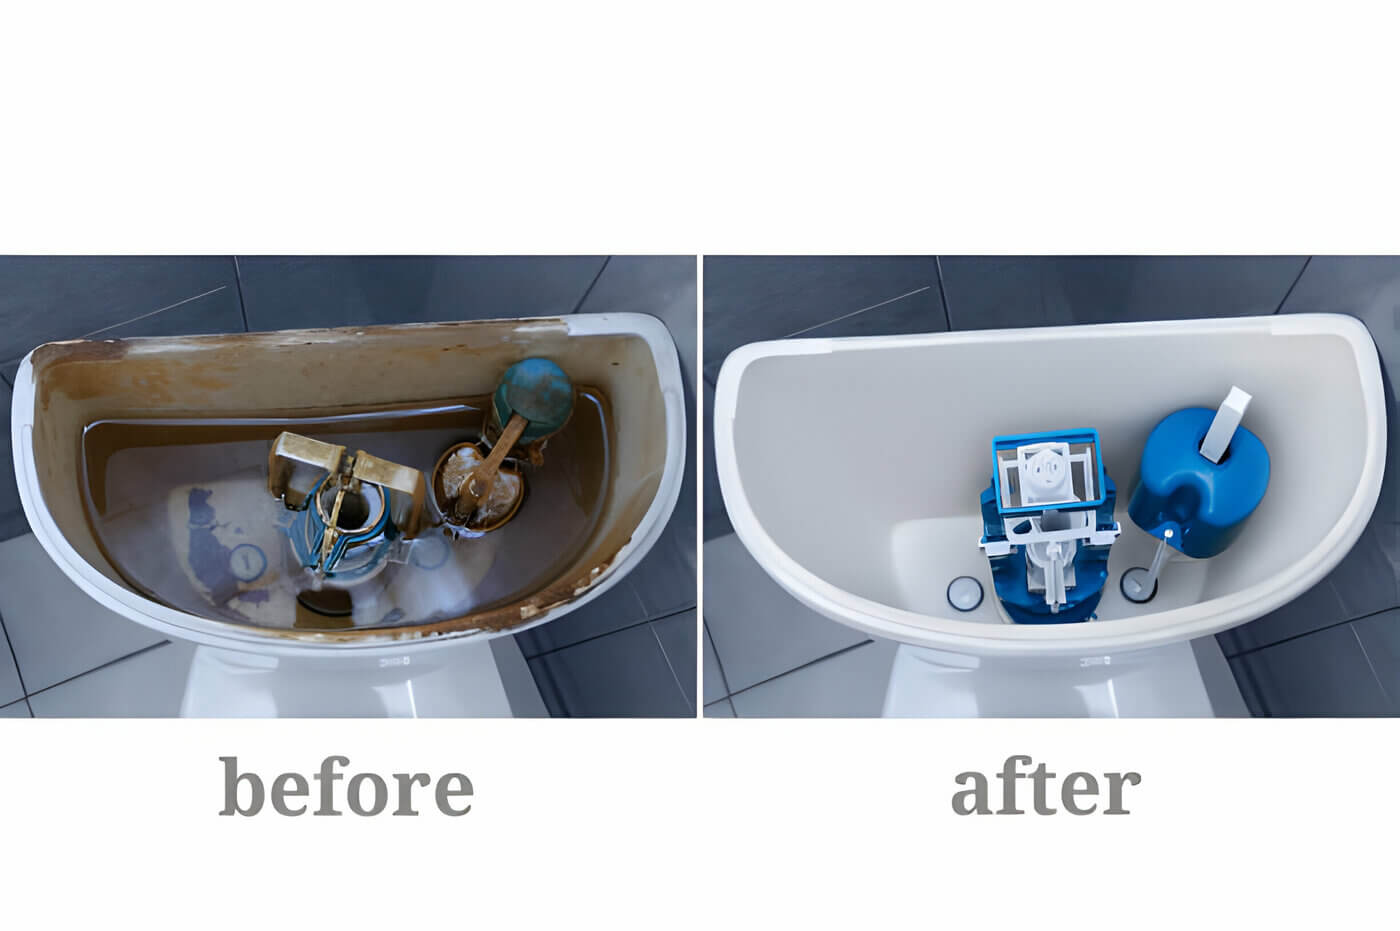
Now, if you go for extended periods without giving your toilet tank a proper clean then you will get a proper scare once you finally lift the lid and peer inside.
You might find anything from bacterial growth to rust rings and scales which can ultimately affect the functioning of the toilet.
It doesn’t have to be hard or disgusting; just regularly clean the tank and you’ll be good to go.
The short of it is that you just need the right chemical to deal with the problem affecting your tank. The long of it is that you first need to figure out what is the cause of dirt in your tank.
How toilet tanks accumulate dirt
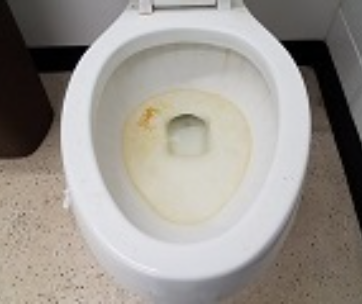
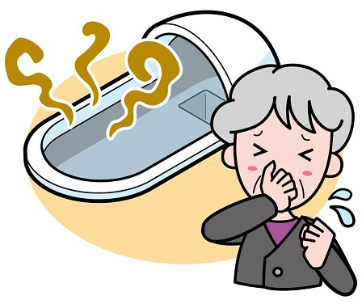
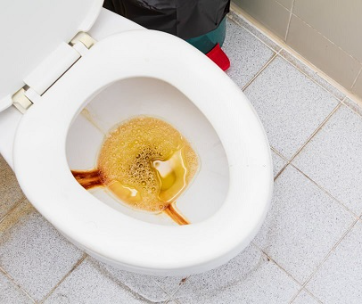
The tell-tale signs of a dirty toilet tank include a foul odor, brown water and/or presence of build-up bacteria.
Let’s dive into each one of them;
Mold and algae in the toilet tank
One main source of toilet tank dirt is mold and algae which grow due to the presence of moisture in the closed up tank.
The bacterial growth results in the nasty smell that eventually finds its way into the toilet bowl and the air in the bathroom.
They not only result in a foul odor but also in a greenish tinge in the water. For such microorganisms, empty the tank and wash down the internal components as well as the bottom and sides of the tank with a disinfectant spray. The spray will kill all the bacteria present in the valves and tank itself.
Be sure to protect yourself with gloves as you do this.
Rinse the tank afterwards and allow it to air dry. Once dried, refill the tank and pour a cup of vinegar into this water and let it sit overnight then flush it.
Hard water deposits
One of the most common ways toilet tanks get dirty is from minerals from the water supply.
When the minerals dissolve in the water, they turn the water cloudy. For such causes, it is likely that the water in the toilet bowl will also be cloudy.
It is this same build up that results in bowl staining and worse of can result in a slow leak when the minerals collect in the flush valve opening.
Again, vinegar is a competent treatment as it dissolves the salt deposits in the water.
Brown water
Another cause of a dirty tank could be corrosion of the metal parts in the tank itself. This could result in discoloration that you won’t necessarily see in the toilet bowl.
In the case of discoloration, iron in the water is usually the most common culprit. Presence of iron may be as a result of the water supplying pipes rusting or that your water supply in itself is rich in iron.
The iron stains the tank and causes bacterial growth but also eventually discolors the water. In such a case, you can use a water softening system to combat the presence of iron and other minerals in the water.
However, if the brown water is only visible in the toilet tank this could very well be beyond your control and you might have to call a plumber to check the pipes supplying water in the bathroom.
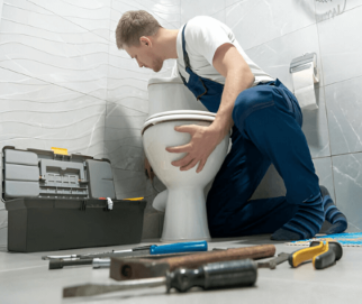
Steps to Properly Cleaning a Toilet Tank
With all these causes in mind, here is a proper method to deal with dirt in the toilet tank.
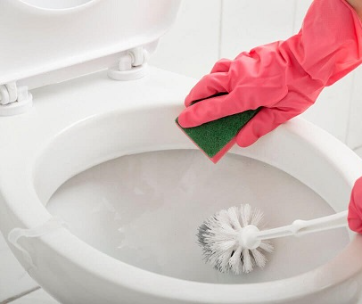
You will only need a sponge, brush, disinfecting bathroom cleaner and white vinegar.
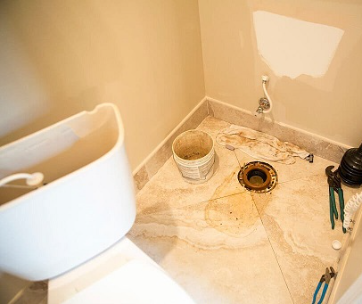
STEP ONE - Drain the tank
You want to eventually get to the core of the dirt at the base of the tank and that is almost impossible with a full tank of water.
To drain the tank, shut down the water supply by switching off the valve located behind the toilet.
Then proceed to drain all the water from the tank by flushing.
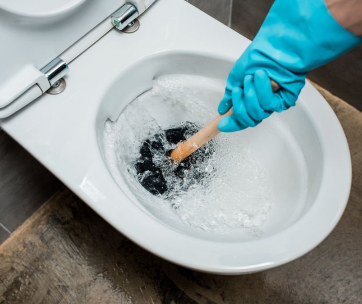
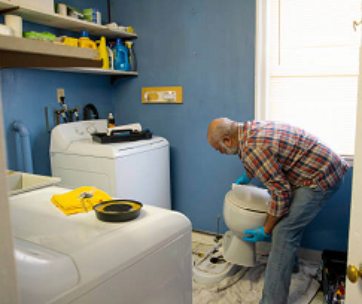
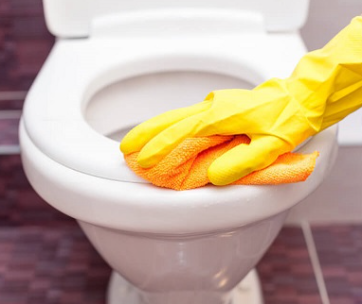
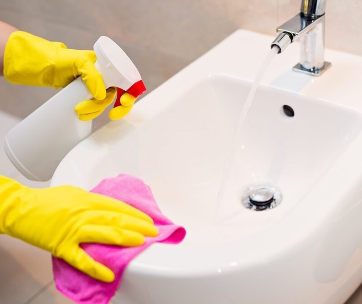
STEP TWO - Put on gloves
Gloves are necessary to prevent contact with any bacteria and germs (which toilets are especially full of). They also serve a protective role for your skin in case you are working with bleach.
STEP THREE - Determine the proper type of cleaner
This is where the bulk of the work is.
You can use a regular toilet cleaner, vinegar or bleach to clean the tank. Your choice of an appropriate cleaner will depend on the degree of dirt.
If the tank seems relatively clean then you can spray it with a basic disinfectant. However, in the case of accumulated dirt, you will definitely need either vinegar or bleach.
White vinegar is a great choice for hardened mineral deposits in the tank while bleach works great for a mildew buildup. Just take care to wear gloves if handling bleach.
Spraying the fill and flush valve tubes with a disinfecting cleaner is a great way to kill odor-causing bacteria. The cleaner should particularly contain bleach.
STEP FOUR – Thoroughly apply your cleaner
If using a regular cleaner, either spray or pour the cleaner into the tank with emphasis on the bottom and sides and especially the corners as that is where buildup is most likely to occur.
STEP FIVE – Let the cleaner sit in the tank
Like cleaning a toilet bowl, the trick is to allow the cleaner to sit in the tank for a while in order for it to be soaked in and work properly.
About ten to fifteen minutes is sufficient for a regular cleaner. However, if the cleaner indicates different timing then be sure to follow the specific instruction that come with the cleaner.
Vinegar, on the other hand, requires a somewhat different process as compared to bleach and regular cleaners.
For starters, pour the vinegar into the tank and let it sit for 12 hours before flushing it out and proceeding with regular cleaning.
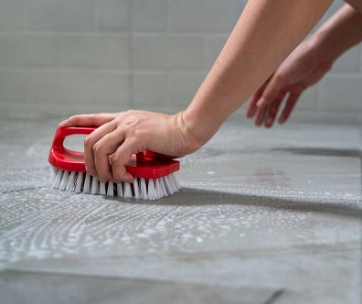
STEP SIX – Scrub the cleaner into the tank
After the allocated time period is over, proceed to scrub the cleaner into the tank.
You can use a scrub brush, scrubby sponge or even an old toothbrush
Place emphasis on the sides and bottoms of the tank walls where you had previously disposed a large amount of the cleaner.
Continue scrubbing till when all the dirt and build up has dissolved.
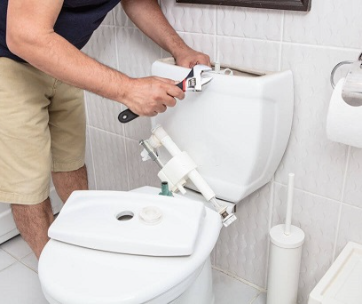
STEP SEVEN –Clean any removable mechanism aside
If you haven’t cleaned your toilet tank in a while, it is very likely that the flush and fill valves will be just as dirty if not dirtier than the tank itself.
Removal of these valves is not necessary but what you can do is to remove the flapper and ball float for a proper clean. Note that this step is necessary to get extra cleaning space for the sides of the tank.
That said, clean the working parts such as the ball float, flapper and flush handle as well using the same cleaning solution you used for the tank itself. This cleaning can be done in the sink for better access to all the dirt.
Rinse out the parts with clean water and reinstall them thereafter.
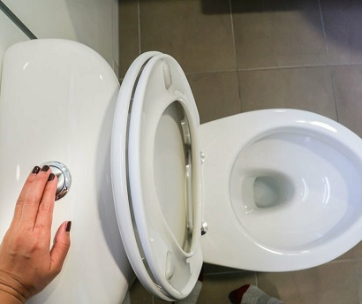
STEP EIGHT – Rinse the tank
At this point you should turn the water back on, and allow the tank to refill then flush out the tank. This will rinse out any residues and deposits you’ve cleaned out.
You can choose to add vinegar into the water refill in case there are still signs of hard water deposits or mineral stains you may have missed during the clean-up.
Allow the vinegar to soak overnight before flushing it out.
Tank maintenance
If you clean your tank regularly then this should be an easy task.
Just pour white vinegar into the toilet tank weekly to deal with the accumulated mineral deposits.
You also have the option to use tank tablets although they are not advisable as they contain bleach which erodes and damages the inside of the tank, this can result in slow leaks and are especially harmful to pets which often drink from the toilet. If you must, use tablets that do not contain bleach.
Last but not least, establish a cleaning routine to ensure that you do not forget to clean your tank.
It will do you well to regularly clean the tank as a clean environment is also a healthy environment.


Comments