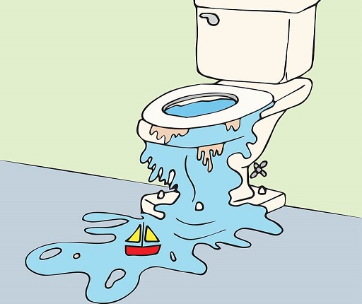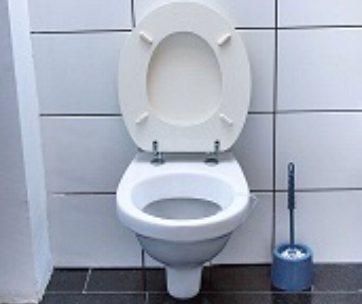

According to a 2016 report by the Water Research Foundation, toilet flushing and general water leaks alone contribute to 24% and 13%, respectively, of all water usage in most homes. Yes, that periodic phantom flush or trickling sound coming from your toilet is not only wasting water but will easily hike up your water bill.
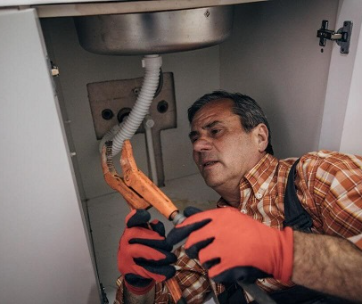
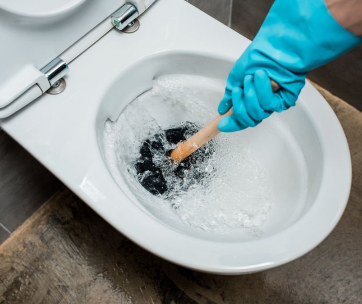
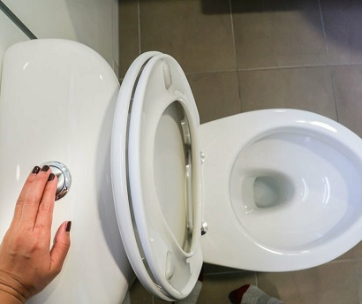
While a dripping toilet tank might be easy to detect, that’s not the case with silent leaks. One of the best ways to detect toilet leaks is by using toilet dye tablets. You can do so by following the steps below:
- Remove the tank lid and gently set it down on a spread-out towel on the floor or another safe place to avoid damaging it.
- Put one or two toilet dye tablets or a few drops of food coloring in the cistern. Don’t flush the toilet just yet.
- Wait for 30 minutes, then check the toilet bowl. If there’s coloring or dye in the bowl, then you have a silent leak. Additionally, if the dyed water leaks and pools on the floor around the base of the toilet then you better roll up your sleeves for the work ahead.
You should check for silent leaks at least once or twice a year. Or else you will be risking lots of gallons of water and money going down the drain.
Another way to detect toilet leaks is to listen in for intermittent hissing sounds or just inspect for visible drips or trickling. The hissing sounds indicate that the tank is continuously refilling and draining water into the bowl or leaking elsewhere.
Components in the cistern such as the flapper, trip lever system, overflow tube, or flush valve might be the reason for the water leakage. Additionally, connections between the toilet tank and bowl, or the toilet and floor might also be at fault here.
Water Supply Line Leaks
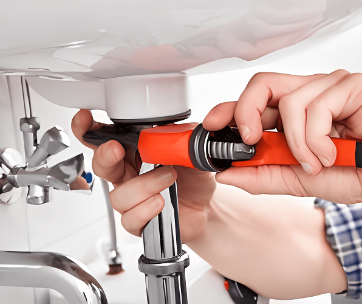
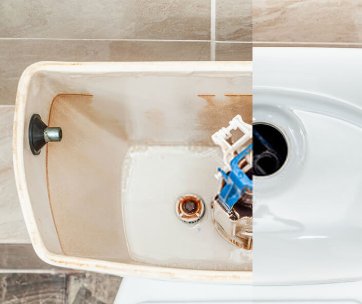
The cistern gets water from the mains through the water connector hose and shut-off valve connection. Leaks will most likely happen along the supply line, the connection between the supply hose and cistern, or at the shut-off valve.
Water pooling on the floor near the toilet may be a sign that you have a supply line leak. Running a dry rag or your finger along the supply line and shut-off valve should give you an idea of which spot is leaking.
Leaky Shut-off Valve
The most common reasons for a leaky shut-off valve include a loose packing nut, worn rubber washers, and corroded components. The parts might also be covered with mineral deposits causing leaks and improper functioning of the valve system.
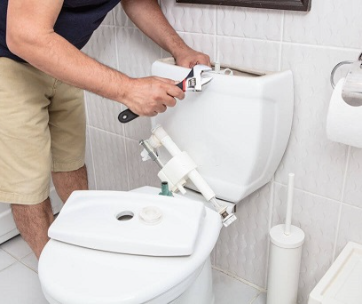
Whether the valve has compression or threaded joints, tightening the connection is the easiest fix for a leaky shut-off valve.
Use an adjustable wrench to carefully tighten the packing nut. For threaded valves, you will have to first detach the supply line using a wrench then tighten the valve across its hexagonal flats. Lastly, turn the water back on and check for leaks.
If that doesn’t stop the leaking then you might want to inspect the valve for signs of corrosion or wear. Removing the shut-off valve will depend on its type of connection.
For threaded connections:
- Remove the supply line using a crescent wrench to unscrew the bolt connecting the line to the valve.
- Unscrew the valve system using a wrench while stabilizing the pipe with a pair of pliers.
- If the washers are not worn, try washing them to remove any dirt or mineral deposits or just replace them with new ones. Put the washers back into the valve system.
- Apply plumber’s tape to the threads and gently screw the valve back onto the pipe by hand. Tighten the valve with a wrench while holding the pipe with pliers to avoid twisting or bending it.
- If the parts are too worn or damaged then replacing the valve system would be ideal. The same steps as above should apply.
For compression joints:
- Remove the supply line.
- Hold the valve body with slip-joint pliers or an open-end wrench. Loosen the compression nut with another wrench by turning it clockwise.
- Pull the valve off the water pipe and remove the compression sleeve and nut. Here, you may try using plumber’s tape on the threaded part of the valve or just replace the entire system.
- Position the new nut onto the pipe and then slide the new compression sleeve. You may position the sleeve slightly forward of the previous position of the old sleeve.
- Apply a light coating of pipe dope to the sleeve and insert the new valve.
- Using a pair of pliers or a wrench, screw the compression nut onto the new valve until snug. Reconnect the supply line and test for leaks.
If the valve system is not the source of the leak, then you might want to inspect the supply line and its connections.
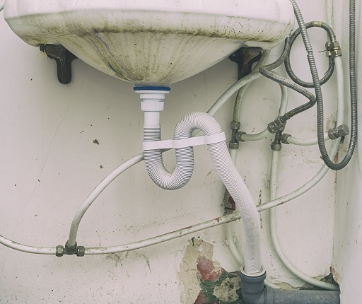
Water Connector Line
Here, leaks may be caused by a cracked line, loose fittings, or deteriorating rubber washers.
Working from the bottom up, carefully tighten the nut attaching the supply line to the shut-off valve. Then, tighten the other nut connecting the line to the fill valve. You can tighten the latter by hand to avoid breaking it since they are usually made of plastic. Turn the water back on and test for leaks.
Instead of fumbling with the nuts trying to replace rubber washers or a cracked line, we recommend replacing the supply line altogether. When shopping for a replacement, you want to take the old one with you to your local hardware store to get a compatible match.
To replace the supply line, follow the steps below:
- Turn off the water supply at the cut-off valve. Flush the toilet and hold down the lever for a few more seconds to drain most of the water in the tank.
- Place a bucket or plastic tub underneath the line to catch any excess water.
- Using locking pliers or an adjustable wrench, loosen the nuts at either end of the supply line one at a time.
- Remove the old line and install the new one, beginning with the fill valve connection.
- Screw the top end of the new supply line to the fitting at the bottom of the cistern by hand. You may use pliers to tighten the fitting snugly but take care not to overtighten it. Do the same for the opposite end of the supply line.
- Turn the water back on, flush the toilet and check for any drips from the fitting. If you spot any leaks, just tighten the hex-nuts some more with a wrench or pliers.
Tank to Toilet Bowl Connection
A rubber tank-to-bowl gasket and two or more bolts connect the cistern to the toilet. The gasket is located outside of the flush valve where the toilet tank sits on the bowl. With the help of the bolts, it creates a watertight seal to allow water to only empty into the bowl.
The gasket may become dry and cracked over time resulting in a leak. Similarly, if the bolts get too rusty or the rubber washers get too worn out then a water leak is possible. A gasket leak is most noticeable during flushing while the leaks at the bolts result in continuous dripping.
For rusty bolts, the leaks might leave some rust streaks on the toilet as the water collects on the floor. While tightening the bolts might solve the issue temporarily, tank-to-bowl leaks are best solved with the replacement of the given components.
Some of the tools you might need for this fix include:
- A tank-to-bowl kit
- A towel, rag, or sponge
- A bucket
- Screwdriver
- An adjustable wrench or locking pliers
The tank-to-bowl kit should contain the new gasket and bolts including their rubber and metal/plastic washers. When installing the new components, make sure the rubber washers are the ones in contact with the porcelain instead of the metal ones.
Start by draining the tank completely before removing the gasket and/or bolts. Shut off the water supply and flush the toilet to drain most of the water in the tank. Use a sponge or towel to soak up and wring out the remaining water.
How to Remove Toilet Bolts and Gasket
- Disconnect the supply line from the cistern using a wrench or adjustable pliers. Drain any excess water into the bucket.
- Locate the tank bolts on the bottom of the cistern and turn them with a screwdriver. Lock the nut below using a wrench or pliers to avoid it from turning at the same time with the bolt. Unscrew the bolts and nuts and remove them.
- Lift the toilet tank carefully off the bowl and remove the gasket from the tank’s outlet. Position the new gasket onto the outlet and then position the tank back onto the bowl.
- Insert the new screws through the washers and put them into the holes in the bottom of the cistern. Underneath the tank, slide the washers along the threads of the screws and screw them on by hand.
- Tighten the screws using a screwdriver while locking the nuts with a wrench or pliers. Don’t overtighten the screws or you may end up with a cracked tank.
- Reinstall the water supply line. Turn the water back on and check for leaks.
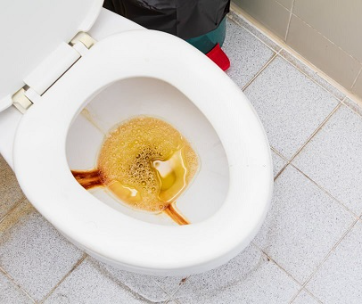
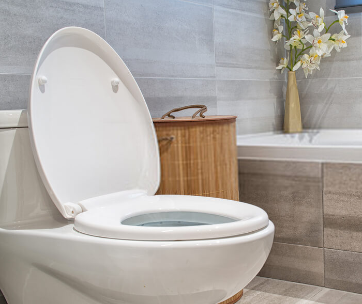
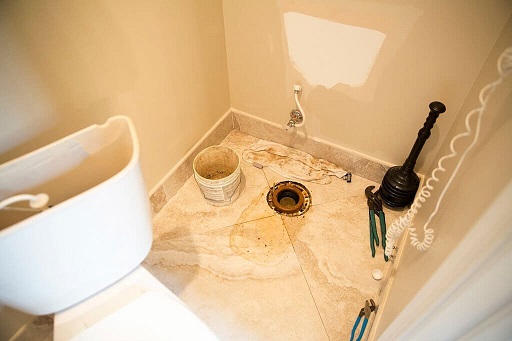
Water Leaking Around the Base of The Toilet
A failing wax ring might be the reason for the water leak. However, you want to exhaust all the other solutions given that replacing a wax ring can be a lot of work. Keep in mind that water pooling around the base of the toilet can simply be due to condensation.
Humid air might be condensing on the outer surface of the toilet and collecting on the floor. Condensation can especially be an issue if you have a constantly running toilet or the room temperature is different from the temperature of the tank water.
A few solutions to the condensation problem include installing a tank drip tray, warming the room, or adding an exhaust fan in the toilet. If you’re certain condensation isn’t the problem then you can proceed to replace the wax ring.
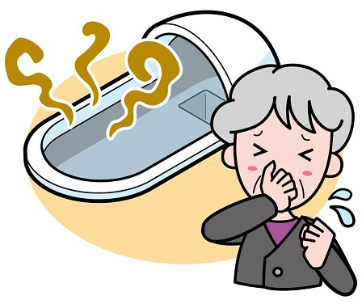
The wax ring is a leak-proof seal that helps prevent odors and toilet water from splashing onto the bathroom floor. If the wax ring seal breaks, then you can expect putrid smells and leaks. The wax ring may break due to poor mounting or a broken flange.
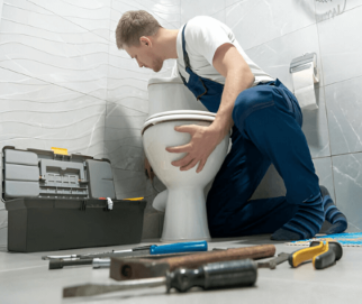
A rocking toilet is a dead giveaway that you might have a broken wax seal. Replacing the wax ring will require that you remove the toilet, scrape the wax off, clean the flange, and replace the wax ring.
How to Replace a Leaky Wax Ring
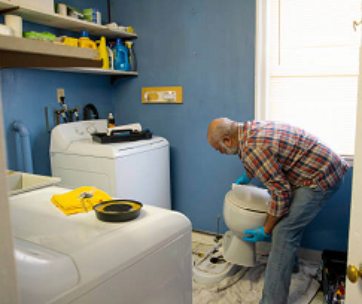
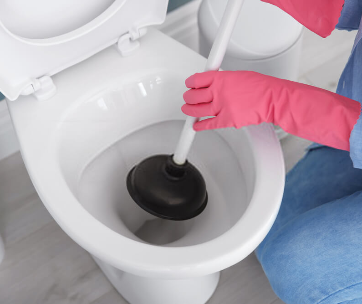
You will need the following: a new wax ring, wrench, toilet plunger, screwdriver, disposable scraper or putty knife, bucket, rags or towels, and disposable gloves. Begin by shutting off the water supply then drain the water in the tank and bowl. A plunger should come in handy when draining the toilet bowl.
- Detach the supply line and disconnect the tank from the bowl by unscrewing the tank bolts. Set the tank aside, away from your immediate workspace.
- Loosen and remove the toilet mounting bolts using a wrench and rock the toilet gently to dislodge it from the wax ring.
- With gloves on, lay the toilet on its side on some towels and scrape off the old wax using a putty knife or scraper.
- Remove the accompanying O-ring from the flange and scrape off the rest of the wax. Clean and disinfect the contact points.
- Install the new wax ring on the flange with the rubber side through the flange.
- Re-mount the toilet onto the wax ring ensuring the holes in the bottom align with the bolts on the flange. Lower the toilet onto the bolts while applying a gentle rocking motion to set on the wax ring.
- Slide the washers and nuts on either bolt and tighten them with a wrench taking care not to overdo it.
- Pour a bucket full of water into the bowl to test for leaks. If there are no leaks, reattach the toilet tank and supply line.
- Turn the water supply on and flush the toilet to double-check for any leaks. Finally, you may add some caulking to seal off the space between the toilet and floor.
Hairline Crack in the Toilet Tank or Bowl
While toilets are built to withstand lots of water pressure and impact, various reasons may cause the porcelain to crack or even break. Physical impact, drastic temperature changes, manufacturer defects, age, overtightening, and previous repairs might be some of the reasons for a cracked toilet.
You want to patch up the hairline cracks as soon as you spot otherwise water will start seeping through the glazing. Or worse yet, the toilet may break into pieces. If the toilet tank or bowl has cracks breaking off into leaf-life threads then it might be too late to salvage the situation.
For single hairline cracks, you can fix the cracks using silicone sealant or plumber’s epoxy putty. Once you have identified where the crack is, ensure the surface is clean and dry before working on it. Remember to turn off the water supply before proceeding.
- Clean off any debris or dirt on the area, then sand it down for easier application of the epoxy. Rinse and dry the surface for the best results.
- Prepare the epoxy as per the manufacturer’s instructions and apply the compound to the crack using a spreader or a putty knife. Allow the compound to cure overnight as indicated by the manufacturer.
- Turn your water supply back on and test for leaks.
Internal Water Leakages
Identifying silent toilet leaks often must be an intentional endeavor. Unlike the visible trickles and dripping, silent leaks drain slowly into the toilet bowl and can go undetected for long periods. As earlier mentioned, the best way to identify these types of leaks is by performing the toilet dye test.
Trip Lever and Flapper Leaks
A normal flush involves the trip lever and the lift chain raising the flapper off the flush valve seat and water flowing out into the bowl. Ideally, the flapper should maintain a watertight seal over the valve to ensure zero leaks.
However, mineral build-up and normal wear-and-tear may cause the flapper to bend or warp over time. This makes it hard to form a reliable seal over the flush valve. Replacing the flapper with a compatible one should prevent any further leaks.
Sometimes cleaning the flush valve seat works like a charm to stop any further leaks. Replacing the entire flush valve assembly should be a last resort especially when working with corroded and deteriorated parts.
If the leaks are not originating from the flapper, proceed inspecting the flush handle system.
First, the slack on the lift chain shouldn’t be too loose or too tight. Else, it might get tangled under the flapper or leave the flapper stuck in an open position. Adjusting the position of the lift chain should reposition the flapper to its normal state.
Lastly, if the flush handle feels too loose then retightening it should go a long way in stopping the flapper leaks.
For the above repairs, you will need to shut off the water supply, take off the tank lid, and drain the water in the tank completely. Flappers in most toilets can easily be popped off the flush valve apparatus without any tools.
Replacing the flapper and adjusting the lift chain is pretty much straightforward.
Leaking Fill Valve
A fill valve flows water into the tank from the supply hose. If its components get damaged or clogged with dirt or mineral deposits, then too much water will get into the toilet tank. The excess water will then pour into the overflow tube and end up in the toilet bowl.
To fix a leaky fill valve, clean and unclog the affected parts or just replace it.
Shut off the water supply and remove the top cap by pushing it down then twisting it a bit. Clean any parts covered in dirt or mineral deposits. To unclog the shaft of the fill valve, first, remove any small components inside and place them somewhere safe.
Then, turn the water supply to flush out any debris in the fill valve. Turn the water off again and reinstall the components in reverse order.
When replacing the fill valve, you want to first drain out the tank water then loosen the lock nut holding the valve to the tank. Remove the old fill valve and replace it with a new one. Remember to attach the refill tube to the overflow tube and tighten the lock nut as needed.
Leaks Caused by the Float
A toilet float allows water to fill in the cistern without overflowing. It will rise with the water level and shut off the fill valve once the tank has refilled to a certain level.
However, if the float is pierced and letting in water, the fill valve won’t get shut off. Instead, the excess water will pour into the overflow tube. A float that goes higher than the overflow tube will also result in water draining into the bowl.
Adjusting the float will mostly depend on the type installed in your toilet.
For toilets with float balls, locate a screw at the connection between the float arm and fill valve. Turn it clockwise with a screwdriver to lower the water level. Older models will have metal float arms that you easily bend to change the water levels.
For float-cup fill valves, slide the float down the float rod to lower the water level.
If the float is pierced or damaged then you want to completely replace it with a new one. This might mean replacing the entire fill valve in the case of float-cup style models. For float-ball type valves you just need to replace the float ball.
Cracked or Broken Overflow Tube
In most toilets, the overflow tube is connected to the flush valve as a one-piece component. Therefore, if it cracks or gets damaged then you would have to replace the whole flush valve system. Since the components are mostly made of plastic there’s not much you can do in terms of repairs.
Keep in mind a cracked overflow tube will leak water straight into the toilet bowl.
To replace the tube (read flush valve), you will need to do the following:
- Begin by turning off the water supply and draining the water tank. Remember to disconnect the supply line from the toilet tank.
- Detach the flapper and refill tube from the flush valve. Using a screwdriver and locking pliers, unscrew the tank bolts and remove the tank from the bowl
- Remove the tank-to-bowl gasket. Use locking pliers to gently loosen the large plastic nut on the bottom of the flush valve. You should now be able to remove the old flush valve with ease.
- Clean the surface and position the new valve into the hole in the bottom of the tank. Tighten the plastic nut by hand over the valve then finish the job with the pliers.
- Attach the gasket over the large plastic nut and position the tank back on the bowl.
- Slide in the tank bolts and screw them into place with a screwdriver and locking pliers.
Don’t forget to reattach the flapper and refill tube to the flush valve. Finally, reconnect the supply line and turn the water back on to test for leaks.
Parting Shot
Most of the issues that cause toilet leaks can easily be fixed without having any plumbing skills. With a simple process of elimination, you will be able to identify the source of the leak and repair the affected parts.
If none of the solutions discussed above work for you, then there is no shame in reaching out to a qualified professional.