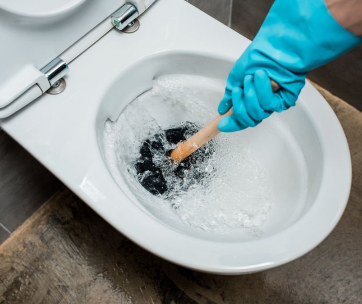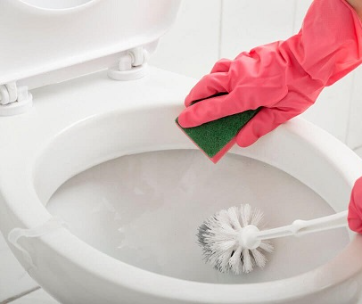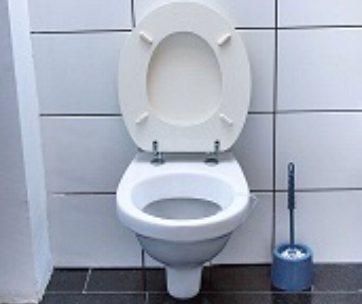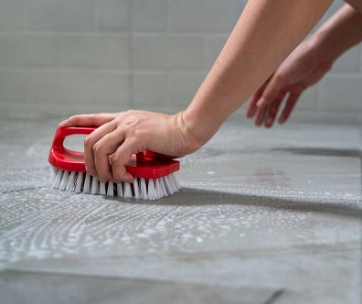

Toilets are mechanically and physically designed to be among the most durable fixtures in our homes. Physically toilets are made of majorly vitreous clay/ ceramic and other enclosed parts of rubber, plastic, and metal. Based on this design they only require regular cleaning of the bowl with detergents and wiping the exterior to prevent dust pile up and they’ll be good to go for a couple of years.
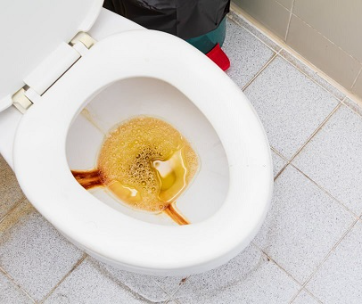
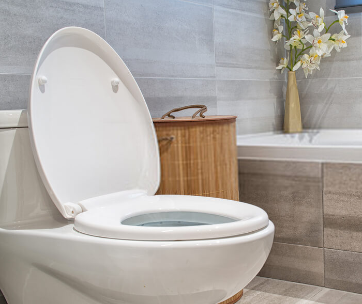
However, due to toilet parts being constantly exposed to water, they inevitably become faulty over time. That said, leakages are among the most common faults in a toilet. In hindsight, whether the toilet leakage is minor or major it should be fixed as soon as possible. Since leakages may end up causing further costly damages such as peeling of paint, wall/floor staining and rotting of wooden drawers nearby.
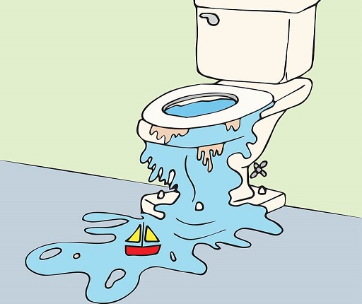
What causes leakages? You might ask.
Well, there several reasons for leakages in a toilet. In this article we have highlighted the different parts prone to leakages in a toilet and the causes of leakage. But most importantly we have also included how to fix them.
Without wasting any more time, below are the causes of leakages in toilets and how to fix them;
1.Deteriorated/ defected flapper
The flapper is a rubber seal that seats at the bottom drain of the toilet tank. Its purpose is to regulate movement of water from the toilet tank to the toilet bowl by lifting from the drain when the toilet is flushed and closing the drain when the tank is full.
A faulty flapper causes leakage by not fully sealing the drain therefore allowing water to constantly flow into the bowl even when the toilet is not flushed. Although it is common, a faulty flapper often goes unnoticed especially if your toilet has a silent flush. Here’s a fun way to know if the flapper is causing the leakage;
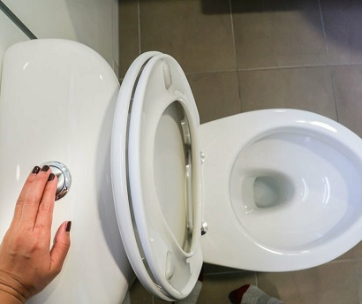
- Lift the toilet lid and flush to empty the tank.
- With the tank empty and flapper lifted, clear the mouth of the drain of any debris or particle.
- Let the toilet tank fill and the flapper rest on the drain.
- Add a few drops of food color or dye and let it rest for about half an hour.
- Check the state of the toilet bowl. If there is any color stain in the toilet bowl you have a problem in your hand, a faulty flapper.
To fix this leak you will need to replace the old flapper with a new one.
Once you buy a new replacement flapper proceed to;
- Turn off the water supply through the shut-off valve in the water supply line, to prevent further inflow of water into the tank once you flush.
- Flush the toilet to empty water in the toilet tank.
- Remove the old flapper, by unclipping the beaded chain from the extended arm of the flush handle lever and slipping the side ears of the flapper from the extended pegs of the flush valve tube.
- Finally, install the new flapper by hooking the ears of the flapper to the side pegs of the flush valve tube then clip the flapper’s beaded chain to the arm of the extended flush handle lever. Remember to adjust the length of the chain to be optimum; without being too tight or too loose when the flapper is resting on the drain.
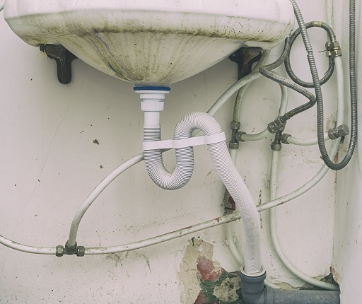
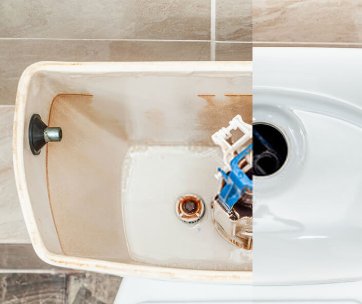
2.Leaking tank to bowl gasket
The gasket is a wax, rubber or plastic ring that seats between the toilet tank and toilet bowl. The sole purpose of the gasket is to prevent water moving to the toilet bowl from the toilet tank from leaking out. Therefore if water is pooling at the rear base of your toilet you most certainly have a damaged gasket.
If you have a worn- out or damaged gasket the solution is to replace the old tank to bowl gasket with a new one. Here’s how;
- Shut off the water supply to the toilet through the shut off valve in the water supply line.
- Flush to drain all the water held in the toilet tank. We don’t want to create another mess, do we?
- Disconnect the water supply line and unfasten all the nuts, washers and bolts holding the tank in place.
- Proceed to carefully lift the tank and remove the old worn out gasket
- Place the new gasket in place over the toilet bowl
- Gently set the tank back in position and attach it to the bowl with the nuts, washers and bolts. Remember to not tighten the nuts and bolts too much as this may cause the tank to crack.
- Finally reconnect and turn on the water supply line and you are good to go.
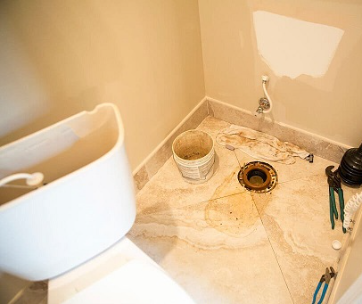
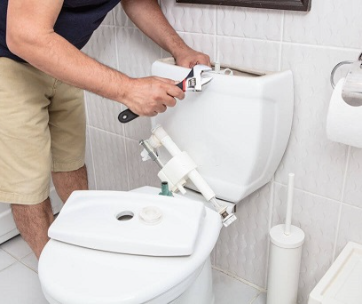
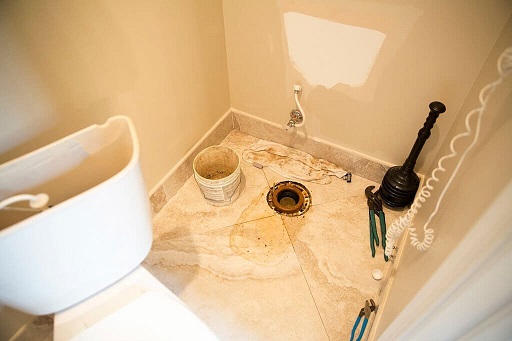
3.Loose bolt or faulty wax seal.
If there is water all around the base of the toilet the issue is one of two, either the bolts holding the toilet in place have loosened up or the toilet wax seal is worn out. Either way both are easy to solve.
Once you notice water at the base of your toilet, straight off the bat you should check on the state of the bolts holding the toilet in place. If they seem loosened up grab a wrench and simply tighten them back in place to get rid of the leakage.
But if the bolts seem to be in place or the leakage persists even after tightening the bolts then the problem is most probably the wax sea .to help you further understand how, here’s a detailed description;
The base of the toilet is attached to a floor flange which goes into the sewer line in your home. A wax seal is placed between the flange and base of the toilet bowl to seal off water and waste going down the drain. But over time the wax seal becomes faulty hence allowing water to leak out to the base of the toilet.
To fix a faulty wax seal follow these steps;
- Shut off water supply and empty the toilet tank by flushing.
- Using a wrench loosen the t bolts attaching the toilet to the flange.
- Slowly lift the toilet and put it on the side. Preferably over a piece of cardboard to prevent creating a mess.
- With a paint scraper, scrape off the old wax ring and wipe the top of the flange and base of the toilet to remove any residue.
- Clean out the slots for the bolts and replace the bolts with new ones if the old ones are rusted. Simultaneously slip in plastic washers over the bolts.
- Set the new wax seal in place and press on it gently to seal it to the flange.
- Now lift the toilet and put it back in place, slide in the metal followed by the plastic washer and screw the nuts on the bolts by hand.
- To create a tight seal, sit or kneel on the toilet without wiggling then proceed to fully tighten the nuts on the bolt with a wrench. Since the toilet is delicate and may easily crack do not over tighten the nuts.
- Cut off the excess bolt parts and cover the top of the bolts with a decorative seal.
- Finally, reconnect the water supply and caulk the base of the toilet to the floor.
4.Hairline crack on toilet tank or bowl
When there is a crack in the toilet tank or bowl water will seep out and leak. To fix the crack causing leakage you should;
- Turn off the water supply and flush the toilet to drain the water in the toilet tank
- Since you will be using a sealer, the surface needs to be dry. Therefore take your time to ensure the tank/bowl is completely dried.
- Gently apply and spread the plumbing epoxy to the cracked area.
- Let the epoxy sit in for a day to ensure it dries up well and seals off the crack completely.
- Finally refill the toilet tank and flush the toilet to check whether the crack is fully sealed.
Conclusion
Now that you are done going through this article we hope that diagnosing and fixing a leaking toilet becomes child’s play to you. When fixing a leaking toilet it is important to keep in mind that toilets are very delicate. That being the case, if you are unable to identify the cause of leakage in your toilet, you should at least seek the advice of a professional plumber if not their services.